How to choose your first gel nail kit: 2026 guide
An honest guide to choosing your first gel nail kit without falling for 80-piece kits you'll never use. What it SHOULD include, what you DON'T need, and which 4 Mercado Libre Mexico kits are worth the money.
The most common mistake when buying your first kit is going for the biggest one with 80 pieces you'll never use — better to have 4 or 5 correct items than a drawer full of cheap filler. The minimum viable is a 24W or higher LED/UV lamp, base gel + top coat, 2-3 colors, file, and buffer. If your budget is under $500 MXN, the Misstu Polygel or the unbranded polygel kit are honest entry points. If you're willing to invest a bit more, the Limegirl 62-piece offers the best quality-completeness ratio in the MX market in 2026.
There's a pattern that repeats every time a woman in San Luis decides to do her nails at home for the first time: she opens Mercado Libre, searches for "gel nail kit," sorts by low price, and chooses the one with the most pieces in the picture. It sounds logical — more pieces for less money seems like the best value. But she opens the package two weeks later, and the reality is different: 30 polishes in colors you don't use, brushes that fall apart by the third manicure, a mini lamp that doesn't cure the gel after three applications, and a corrugated cardboard buffer that disintegrates on first use. What seemed like a $400 kit ends up being $400 wasted, and you're back to the initial decision: saving up again to buy well.
This guide exists so you can skip that intermediate step. The idea is simple: instead of evaluating kits by number of pieces, we're going to evaluate them by how well they address the 7 essential elements you actually need to do a decent semi-permanent or polygel manicure at home. Then, we'll compare the 4 Mercado Libre Mexico kits that meet the criteria without breaking the bank, explain what extra items are being sold to you in giant kits that you don't need, and conclude with answers to the most common questions we get from women who are just starting out. If you're serious about doing your nails at home, this is the guide that will save you money and frustration.
- A decent starter kit costs between $400 and $700 MXN on Mercado Libre Mexico (May 2026)
- The lamp represents ~50% of the kit's real value — if the lamp is bad, the kit isn't worth it, no matter how many polishes it includes
- Polygel and traditional gel are NOT the same: polygel is easier for extensions but requires molds; traditional gel is for classic semi-permanent polish on natural nails
- Kits with +50 pieces often contain low-quality filler — brushes that fall apart, poorly labeled polishes, faded decorations
- Gels expire: check the production date or avoid kits that have been listed on ML for years
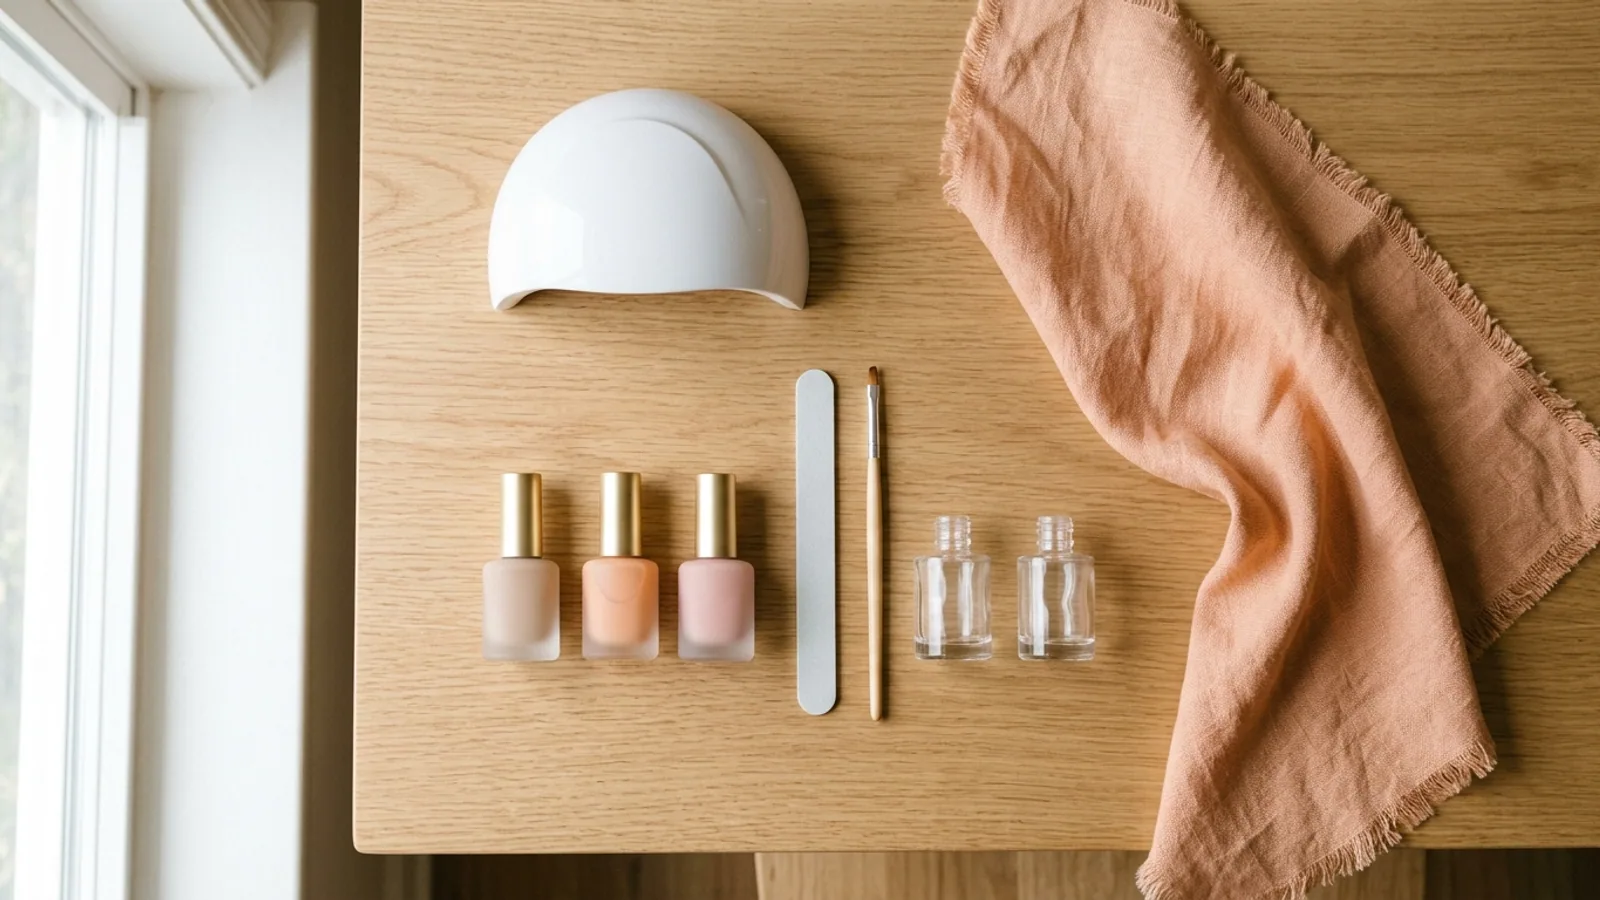
What a good kit SHOULD include (the 7 essential elements)
Before comparing brands, it's worth setting the standard. A "decent" kit isn't the one with the most pieces — it's the one that covers these seven elements with usable quality. If the kit you're looking at doesn't meet the first four, no matter how much it costs: it will end up being expensive anyway because you'll have to buy the components separately.
1. LED/UV Lamp of 24W or more, ideally 48W or more. This is the piece that most impacts the result. A weak lamp cures the gel only on the surface and leaves the inside sticky, guaranteeing lifting within 3 days. The mini USB lamps that come in some kits are fine for trying, but if you use the kit more than a couple of times, you'll want at least 36W with a 30/60/90 second timer. More on this in our UV/LED nail lamps guide for Mexico.
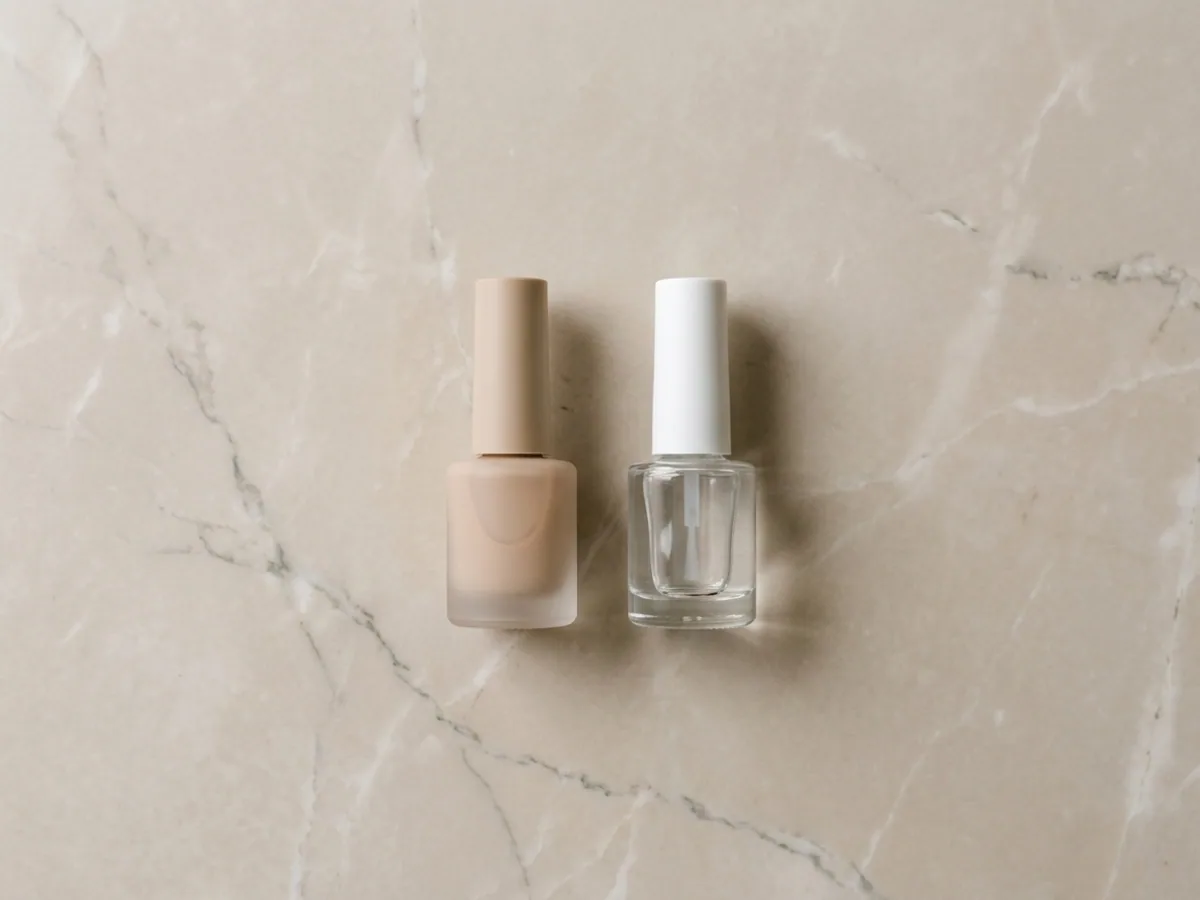
2. Base gel. This is the "bed" for semi-permanent polish. Without a base, the color won't adhere to the natural nail and will lift on the first day. A good base is clear or slightly milky, viscous but not thick, and cures in 30-60 seconds under an LED lamp.
3. Top coat. This is the final shiny seal, and it is NOT the same as the base. Many people confuse one with the other because both are clear, but the top coat has different resins that provide durable shine and scratch resistance. Skipping the top coat is the most common cause of manicures looking dull after a week.
4. 2 or 3 polishes in neutral colors. To start, the important thing isn't a varied palette — it's that the polishes you have are well-pigmented and not expired. A kit with 3 polishes that perform well is worth more than one with 30 that you have to apply in four coats. Practical colors for any occasion are nude, classic red, and black or wine.
5. Buffer + nail file. The buffer (block or four-sided file) is used to remove the natural shine from the nail before applying the base — without this step, even the best gel will lift. The standard file (100/180 grit) is for shaping and length. If the kit includes a cheap corrugated cardboard buffer, it will last you two manicures.
6. Cuticle remover or oil. To push back cuticles before the manicure and keep them healthy afterward. Some kits include orange wood sticks instead of remover — they work, but if they also include oil, that's a plus.
7. Lint-free cotton or pads. Sounds trivial but it matters: regular cotton leaves fibers stuck in uncured gel and ruins the finish. Specific lint-free nail pads are cheap, and the difference is noticeable. If the kit doesn't include them, add them separately — they cost less than $30 MXN.
(Optional, for polygel only) Builder gel + molds. If you're going the polygel route for extensions, you'll also need a tube of builder gel (like a dough) and clear dual-form molds where the polygel is applied before adhering it to the nail. Without molds, polygel is practically unmanageable. Decent polygel kits include both.
The 4 options that are worth it on ML Mexico
These are the four that passed the filter of the seven essentials and are consistently available with stable stock and reasonable prices on Mercado Libre Mexico in May 2026. They are not ordered from best to worst — they are ordered by budget and use case. Each has a distinct user profile.
1. Misstu Polygel Complete Kit (~$499 MXN) — The best-seller for a reason
If you open Mercado Libre and filter by best-selling nail kit, the Misstu Polygel appears in the top results — and not due to inflated marketing. The product genuinely accumulates thousands of sales because it addresses the most common use case: a beginner on a low budget who wants to do DIY extensions from the first application. The kit includes builder gel (the moldable dough), a mini USB lamp, dual-form molds, an application brush, a basic file/buffer, and clips to hold while curing.
The consistency of Misstu polygel is really good for the price — it doesn't feel like dry putty or overly liquid gel, which are the two typical extremes in budget kits. It molds well with the brush and a bit of slip solution liquid (sometimes included, sometimes not — confirm with the seller). The molds are clear for curing through them, which is correct.
The kit's weak point is the lamp: it's a limited-power mini USB lamp, which cures each layer in 60-90 seconds instead of the 30 seconds of a 48W lamp. It's not a deal-breaker for starting, but if you end up using it regularly, you'll want a better lamp within a few months. The other limitation: the kit is 100% polygel; it does not include polishes for traditional semi-permanent application. If what you wanted was to paint your natural nail without extensions, this is not your kit.
Who it's for: A beginner on a low budget who wants to do DIY extensions from day 1, or someone who has seen polygel on TikTok and wants to experiment with the technique without spending $1,500 on a pro kit. It's not the kit for classic semi-permanent polish.
2. Polygel Complete Kit with Lamp (~$500 MXN) — The generic option
At a price almost identical to Misstu, there's an unbranded alternative worth considering. Listings vary by seller — some offer more polygel colors (pink, white, clear, nude), others include a more decent lamp (typically 36W instead of the mini USB). The builder gel is sufficient for starting, the molds are good, and the kit has the essential components for polygel.
The main reason to consider it over the Misstu: if you find a seller offering the version with a 36W lamp and a color assortment, you end up with a technically more complete kit for the same money. The reason to discard it: without a consistent brand, quality varies by batch. You could receive an excellent kit or a regular one, and the possibility of a replica is real. The practical advice is to check the specific seller's reviews before buying — not the product's, but the seller's.
Another disadvantage: usage instructions are typically minimal or in quickly translated Mandarin-Spanish. If it's your first time with polygel, it's worth watching YouTube tutorials instead of relying on the included manual. For someone who has already grasped the basic technique with a first kit, this is a good next step or replacement when the Misstu polygel runs out.
Who it's for: A beginner who has already mastered the basics and wants to experiment with polygel without overspending, or someone who wants more polygel colors (not polishes — colors of the dough itself) without jumping to the $1,000+ range. It's not the option if you want guaranteed consistency.
3. Shinetour 54W Kit — 21 Polishes (~$550 MXN) — The most complete in color variety
This is the kit that changes the use case. The previous two are polygel for extensions; the Shinetour is traditional gel for classic semi-permanent polish on natural nails — the technique most people associate with "going to the salon." It comes with 21 bottles of gel polish (not regular lacquer, UV/LED curing gel), a 54W lamp with a timer, base, top coat, remover, and basic tools. In terms of chromatic variety, it is by far the most complete in the sub-$600 range.
The 54W lamp is the detail that justifies the price. 54W is quite decent for home use — it cures each layer in 30 seconds, has a programmable timer, and a low-heat curing mode that reduces the classic thermal stinging that powerful lamps give with dark gels. It's not a professional salon lamp, but it's the first in the range that feels like a serious tool and not an accessory.
Where the kit falls short is in pigmentation. The 21 polishes are functional but not from a recognized brand — light colors (nudes, pinks, lilacs) tend to need two or three coats for full opacity, and dark ones settle evenly but without the richness of pro brands like Lé Mussa or Organic Nails. The accessories are in the utilitarian range: files and buffers that work but aren't ones you'll keep for three years. If the plan is to use the starter kit and replace polishes with better brands when they run out, the proposal works.
Who it's for: A beginner who wants classic semi-permanent polish (not polygel or extensions) and to experiment with various colors before investing in premium brands. It also works as a starter kit for someone who wants to learn the basic technique with varied and sufficient material for practice.
Producto recomendado
Kit Shinetour 54W — 21 Esmaltes + Lámpara + Tools
Shinetour
4. Limegirl TF-M-01 Kit — 62 Pieces (~$700 MXN) — The serious investment
At $700 MXN, the Limegirl 62-piece kit is the high limit of the "reasonable first kit" range. Beyond that, you're competing with semi-professional kits costing $1,500-2,500, which are better justified if you already know nails are your thing. What distinguishes the Limegirl is not just the number of pieces — that's exactly what we warned about at the beginning — but that the 62 pieces are better balanced than those in generic Chinese kits in the same range.
The key detail: the included lamp has a motion sensor, not a button. You put your hand in, it turns on automatically, and turns off when you take it out. This sounds trivial until you've done five applications trying to press a button with your other hand smeared with gel. The lamp also has a 30/60/90 second timer and a low-heat mode. The polish palette includes matte and glossy options (some separate matte top coats), which is what users on TikTok ask for most and is rarely included in kits under $700. The kit also comes with base, top, a reasonable quantity of remover (not industrial), a decent brush, and functional tools.
Will you use all 62 pieces? No, almost certainly not. Some accessories (decorative gems, stickers, various types of sticks) will remain unused. But the difference from an 80-piece Chinese kit for $400 is that the pieces you will use — lamp, base, top, main polishes — are of usable quality, not filler. It's a kit where the cost per effective piece is reasonable.
Who it's for: A beginner who is serious about doing nails at home and wants a single purchase that covers several months of practice, or an aspiring nail tech who wants a complete foundation before investing in professional brands. If you just want to try two manicures to see if you like it, this kit is overkill — start with the Misstu or Shinetour.
What you DON'T need (and cheap kits sell you anyway)
Now the other side: why 80-piece kits for $400 are so tempting and at the same time such a bad purchase. The formula is always the same — stuffing in a lot of cheap filler to make it look generous in the photo, knowing that most people won't use half the contents. These are the components that are almost never worth it in a first kit and are a sign that you're looking at a filler kit:
30 random colored polishes. The promise of "30 colors for all occasions" sells itself, but the reality is you'll only use 4 or 5 in your normal rotation, and the other 25 will live in a box until they expire. Worse: to fit 30 bottles at the kit's price, the polishes come in tiny quantities (3-5 ml instead of 7-10 ml) and with poor pigmentation. Better to have 5 good polishes than 30 mediocre ones.
Professional nail art brushes. Giant kits sometimes come with 5-10 brushes of different sizes (liner, fan, builder gel, etc.), but cheap brushes fall apart after 3-5 uses — the bristles aren't well anchored to the handle and fall into the gel. If you're serious about nail art, you'll eventually buy individual branded brushes. If not, the kit's brush will suffice.
Stickers and decals. Almost always they come old, with dry adhesive, faded, or with designs you wouldn't use. They take up space and weight in the kit without adding real value. If you like nail art with stickers, specific packs on ML cost $30-80 and are fresh.
Bulk 3D decoration (gems, dried flowers, charms). A small bag of decorative gems has its place — for a specific event or look. But kits that include 200 gems, 50 dried flowers, 30 metallic charms, and a box of "glitter powder" are just adding weight. That decoration will stay in a bag until it gets lost.
Fake nail glue. If you're doing semi-permanent or polygel on natural nails, you don't need press-on glue. And if you want press-ons, it's better to buy them separately with a specific set. The tiny tube that comes in giant kits is usually dry or expired.
Industrial quantities of remover. Remover (acetone or equivalent solvent) goes a long way — a 30 ml bottle will last you months for home use. Some kits include 200-500 ml "so you have plenty," which sounds good until you consider that acetone evaporates and degrades the plastic of the cheap bottles it comes in. It ends up expiring before it's used.
The simple rule: if a kit advertises "100 pieces" or more at a price under $500, assume that 60-70% is low-quality filler. What counts isn't the count, it's the seven essentials with usable quality.
Quick Comparison
Misstu Polygel Complete Kit
- Best-seller with thousands of real sales
- Good consistency polygel for the price
- Dual-form molds included
- Honest entry point to polygel
- Slow mini USB lamp (60-90s per layer)
- Does not include polishes for traditional semi-permanent
- Polygel requires a learning curve
Best for starting with polygel on a low budget
Ver precio actualPolygel Complete Kit with Lamp
- Some sellers offer a 36W lamp
- Polygel color assortment varies by batch
- Similar price to Misstu with potentially more completeness
- No brand = inconsistent quality by seller
- Minimal or poorly translated instructions
- Quality depends on seller's reputation
Best as a second polygel kit or if you find a seller with solid reviews
Ver precio actualShinetour 54W Kit — 21 Polishes
- Decent 54W lamp with timer and low-heat
- 21 polishes to experiment with color
- Includes base and top coat
- Best option for classic semi-permanent under $600
- Polish pigmentation inferior to pro brands
- Utilitarian accessories (basic files, buffers)
- Not suitable for polygel extensions
Best for classic semi-permanent with color variety
Ver precio actualLimegirl TF-M-01 Kit — 62 Pieces
- Lamp with motion sensor + timer + low-heat
- Matte and glossy polishes included
- Best price-completeness balance in the range
- Enough for months of practice
- Some pieces are for occasional use (gems, stickers)
- Not a recognized professional brand
- Higher initial investment — overkill if you're just trying it out
Best for those serious about home nails or aspiring nail techs
Ver precio actualPolygel vs. traditional gel: which to choose to start?
This is the decision that most confuses beginners, because Mercado Libre listings often mix terms like "gel kit," "polygel kit," "acrylic nail kit" without differentiating — and these are distinct techniques with distinct results. The quick rule is: traditional gel is for painting natural nails with durable color (semi-permanent), polygel is for building long extensions over your natural nail or over a tip.
Traditional gel comes in a bottle with an integrated brush (just like regular polish), is applied layer by layer over the natural nail, and each layer is cured under a lamp before applying the next. It's the most intuitive technique if you already know how to paint nails with regular polish — the flow is basically "base, color, color (if you need another coat), top, lamp." The good: quick learning, ideal for natural nails, lasts 2-3 weeks. The limitation: you can't add length beyond what your nail already has.
Polygel comes in a tube (looks like toothpaste), is dispensed with a spatula, and is molded with a brush dipped in slip solution liquid. The key technique is the use of dual-form molds: you apply polygel inside the mold, place the mold over your nail, cure under a lamp, and when you remove it, you have a molded extension. The good: real extensions done at home, 3-4 weeks durability, more resistant than regular gel. The limitation: a real learning curve, requires molds and technique, not for "paint and go."
If your question is "I want to paint my nails at home with color that lasts two weeks?" the answer is traditional gel (Shinetour). If the question is "I want to do long, salon-style nails at home?" the answer is polygel (Misstu or the generic option). We cover the full comparison with acrylic and press-on in our guide to gel vs. acrylic vs. polygel vs. press-on.
What about the lamp? If you want to save by buying it separately
A valid alternative to a complete kit is to assemble your own kit by buying the lamp separately and the polishes/gel individually. This makes sense if the lamps included in kits under $700 don't quite convince you (and honestly, none except the Limegirl's is truly "good"), or if you already know what gel brand you want to use and prefer to choose it without being tied to the kit's inventory.
The quick calculation: a decent 48-72W LED/UV lamp costs between $300 and $700 MXN depending on brand and power. Add $80-150 for a decent brand base gel + top coat, $60-100 for each polish you want (start with 3), and $50-80 for a buffer/file/lint-free cotton. Total: $700-1,300 MXN depending on how premium you go. It's more expensive than the Misstu kit, but the lamp will last 3-5 years of use, not 6 months like the mini USB ones.
If you choose this route, the lamp is the most important decision. We cover the options that are worth it in our guide to the best UV/LED nail lamps in Mexico. And for polishes, the brands we recommend are in the semi-permanent polishes guide. If, after reading both, you decide you still want a complete kit, refer back to this guide and choose from the four we covered above — there's no bad decision if the kit meets the seven essentials.