How to do gel nails at home: complete step-by-step guide
Everything you need to do gel nails at home. Materials, prep, application, and tips to make them last 2-3 weeks.
TL;DR
You'll need: UV/LED lamp, base coat, gel polish, top coat, file, buffer, and remover. The full process takes 45-60 minutes your first time. With practice you'll get it down to 30 minutes.
Doing your own gel nails at home is the most affordable way to have beautiful nails that last 2-3 weeks. A basic kit costs between $200 and $500 MXN and gives you 15-20 applications — that's under $30 per manicure vs $300-500 at a salon.
What you need
Key facts
- UV/LED lamp (any from our comparison works)
- Base coat compatible with your lamp
- Gel polish (2-3 colors to start)
- Top coat (glossy or matte)
- Nail file grit 180
- Buffer block
- Cuticle pusher or orange stick
- Isopropyl alcohol or cleanser
- Lint-free cotton pads or wipes
The best-selling kit that includes all of this is the Misstu Polygel Complete kit:
Step 1: Nail prep
This is the step 90% of beginners skip — and it's the #1 reason polish lifts after 3 days.
- File the shape you want (square, almond, oval)
- Push back the cuticle gently with the orange stick — don't cut
- Buff the surface of the nail until it looks matte, no shine left
- Clean with alcohol to remove dust and oils
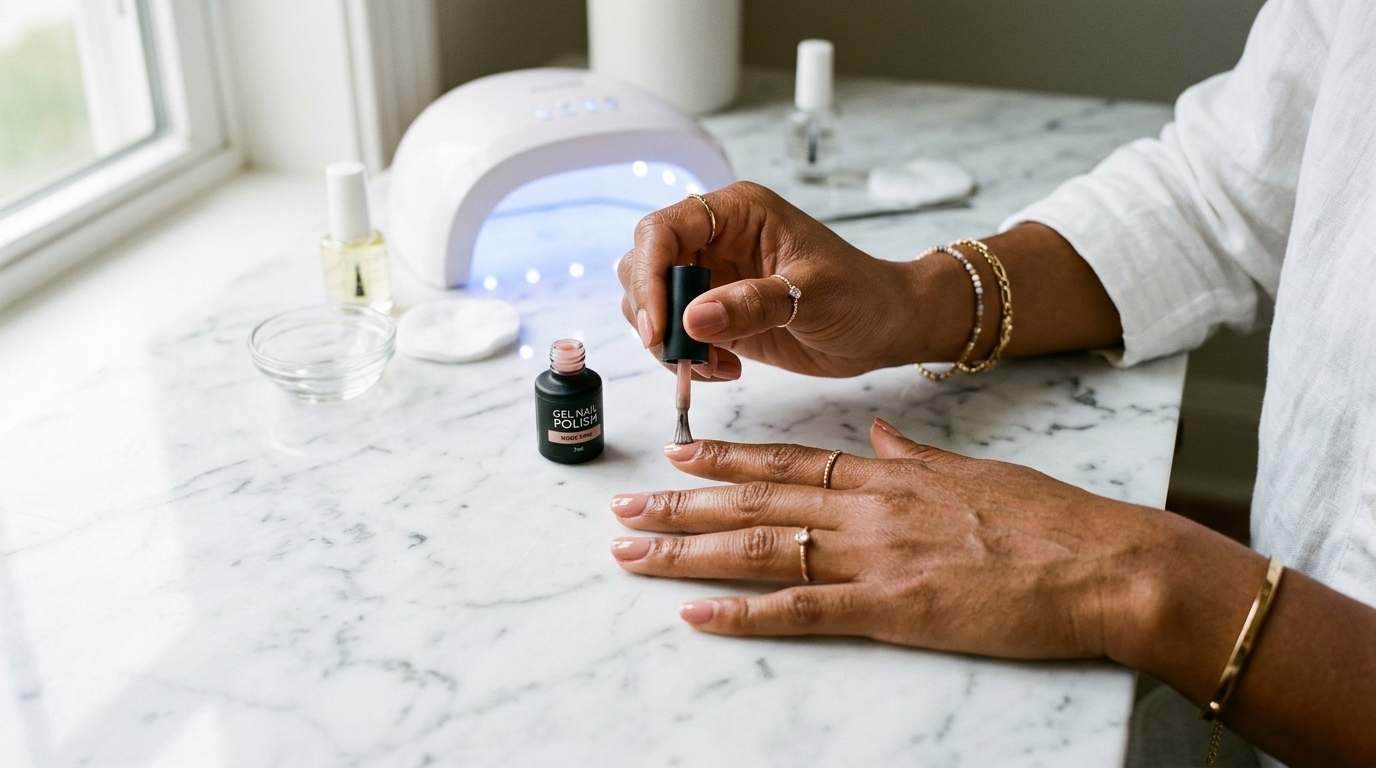
Step 2: Application
- Apply a thin layer of base coat — don't touch the cuticle or skin edges
- Cure under the lamp (30-60 seconds depending on your lamp)
- Apply the first color coat — thin and even
- Cure under the lamp
- Apply the second color coat
- Cure under the lamp
- Apply the top coat
- Cure under the lamp
- If your top coat leaves a sticky residue, wipe with alcohol
Tips to make it last longer
- Seal the free edge of the nail with every coat (run the brush along the tip)
- Always thin layers — 3 thin is better than 2 thick
- Don't touch the cuticle with polish — this is the #1 cause of lifting
- Wear gloves for dishes and cleaning