Press-on Nails in Mexico 2026: An Honest Guide + The Options That Are Actually Worth It
We tested the press-on options you can actually find on Mercado Libre Mexico: Glamnetic glue-free, Wafoloze faded French, and OBP tips for DIY extensions. A guide with a step-by-step tutorial.
If you want a quick, damage-free manicure, Glamnetic Quick Press (glue-free, ready in ~5 minutes) is the premium option. If you're looking for a classic French for a wedding or event, the Wafoloze faded French will solve your problem for much less. If you're brave enough to do your own extensions, the OBP 600-piece soft gel tips are the professional format — but they require a lamp and builder gel; they are not ready-to-wear press-ons. And to be honest: the press-on catalog in MX is small compared to the USA, and below we explain why.
Press-on nails are one of the formats that grew the most on TikTok and Instagram in the last two years. The promise is perfect for anyone just learning: a salon manicure in five minutes, no lamp, no gel, no chemicals, no damage. You put them on, wear them for a week, take them off. It sounds ideal — and for many situations, it truly is.
But there's a problem when someone in Mexico tries to replicate what they see on TikTok USA: the brands that appear most often there — Kiss imPress, Static Nails, Olive & June — barely make it onto Mercado Libre Mexico consistently. Distribution doesn't work, imported prices are ridiculous, and sellers with actual stock are few and far between. The press-on catalog on ML Mexico is notoriously smaller than in the USA, and pretending otherwise would be selling you smoke.
What is available are three distinct options that are worth it, each for a specific use case: a premium glue-free brand, a traditional glue-on set perfect for events, and a professional format for those who want to build real extensions at home. This guide explains all three, compares them honestly, and includes a step-by-step tutorial to make your press-ons last as long as possible — because having the right product is only half the battle.
- Good quality press-ons last 1-2 weeks if applied well — beyond that, they start to lift from the edges
- Glue-free formats (adhesive tabs) are less invasive but less durable: 3-7 days vs 1-2 weeks with glue
- With glue, they last longer, but you must remove them correctly (soaking, no pulling) to avoid damaging your natural nail
- Prices on Mercado Libre fluctuate; the ranges we mention are realistic references for May 2026
- Extension tips (like OBP) are NOT ready-to-wear press-ons: they are the base for building extensions with gel, polygel, or acrylic — they require a lamp
Which Type of Press-On Is Right for You?
Before buying the first thing that appears with the word "press-on" on Mercado Libre, it's worth understanding that we're actually talking about three distinct categories that are often mixed in listings — and each one solves a different problem.
1. Ready-to-wear glue-free press-ons (quick-press). These come with pre-applied adhesive tabs or pressure technology. You put them on in 5 minutes, don't need glue, and they don't damage your nail when removed. The catch: they last less (3-7 days on average) and premium formats have a higher cost. Glamnetic Quick Press Mani is our representative for this category.
2. Traditional glue-on press-ons. These come with a small tube of glue (cyanoacrylate) that you apply to your nail before attaching the artificial one. They last longer (1-2 weeks) and are usually more economical, but they require better application technique and, most importantly, correct removal to avoid damaging your natural nail. Wafoloze faded French is the option we highlight here — ready for an event, elegant look, reasonable price.
3. DIY extension tips (not ready-to-wear press-ons). This is important because many people confuse them: soft gel tips are a transparent base that adheres to your nail and then you build on top with builder gel, polygel, or acrylic, cured under a lamp. They are NOT a finished manicure; they are the structure on which you will create a real extension. They last weeks (like a salon extension) but require a lamp, gel, and technique. OBP 600 pieces is the professional format in this category.
How to decide quickly:
- I want something quick and without a lamp → Glamnetic (quick-press manicure, ideal for weekdays or travel).
- I have an event and want to look elegant → Wafoloze (classic French, reasonable durability, friendly price).
- I want to learn how to do real extensions at home → OBP tips (closer to learning the technique than a shortcut).
The Options That Are Actually Worth It on ML Mexico
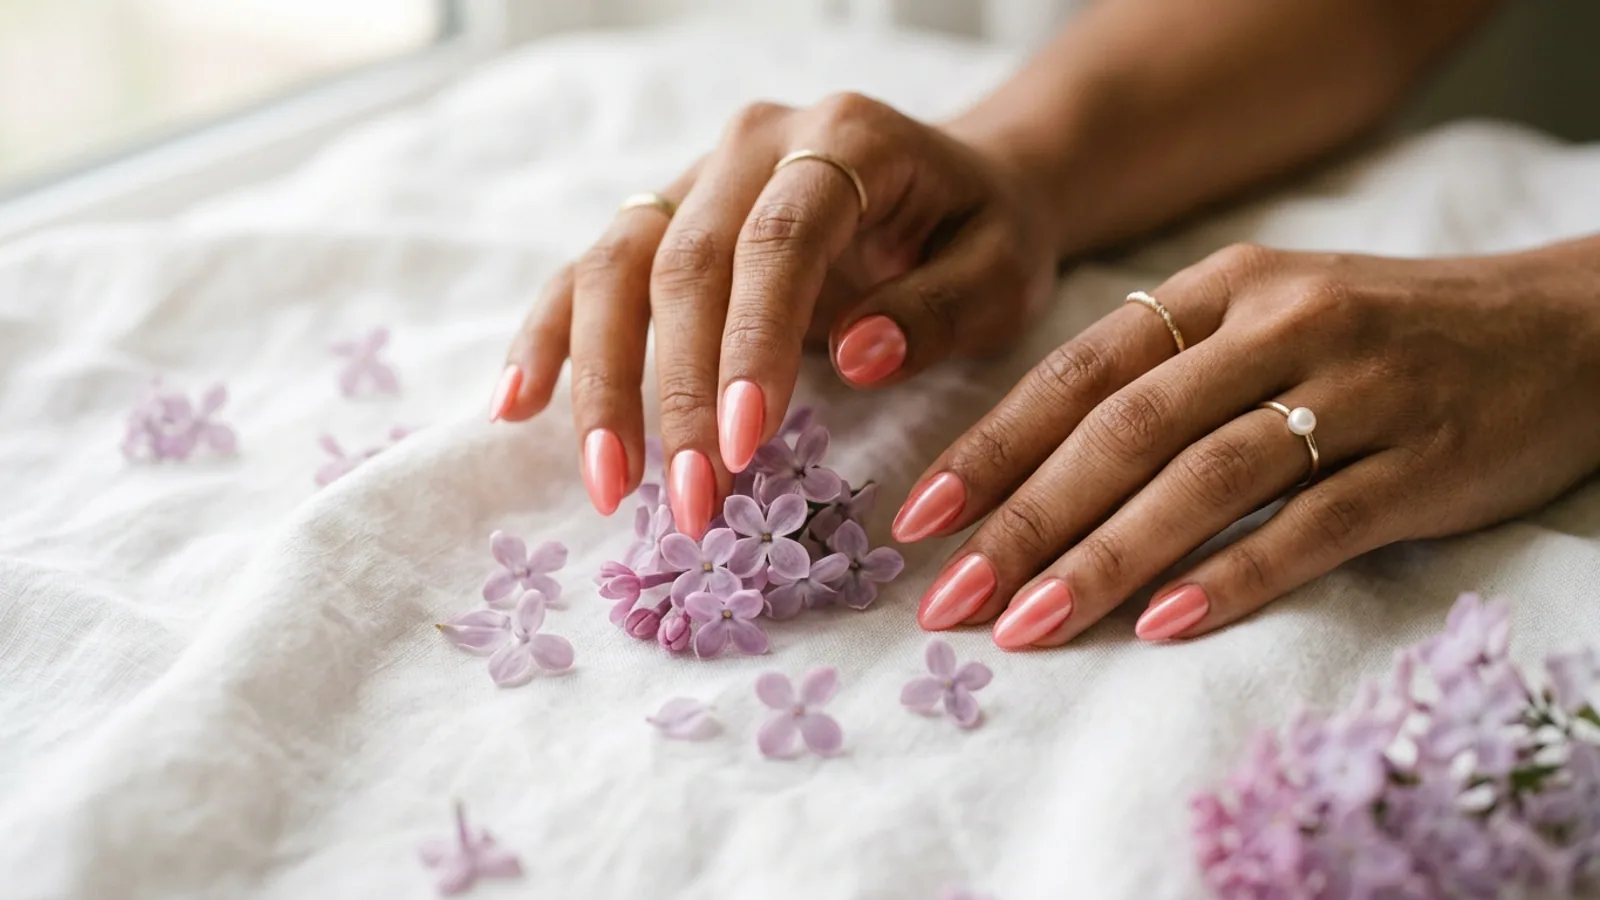
1. Glamnetic Quick Press Mani — Manicure in 5 Minutes
Glamnetic is the brand that changed the conversation around premium press-ons. What distinguishes them is their glue-free pressure technology: the back of the nail already comes with a cured adhesive that activates only with sustained pressure for 30 seconds. You don't use a tube of glue, you don't smell chemicals, and when you remove them, you don't tear layers off your natural nail.
The finish is clearly premium — the thickness of the nail, the curvature, the shine of the top coat — you can tell it's not a drugstore artificial nail. Applying a full set takes you ~5 minutes (testing size, pressing nail by nail). For a normal day, a date, or going to the office without overthinking it, they are perfect.
Pros:
- Doesn't damage the natural nail — removing them doesn't require acetone or pulling
- Truly fast application: in 5 minutes you have a complete manicure
- Viral brand on TikTok with real quality behind it (it's not just hype)
- Reusable 2-3 times if you care for them and remove them by soaking
Cons:
- Higher price than a traditional glue-on set
- Glue-free = less durability (3-7 days with normal use)
- Less widespread availability on ML than local brands — few sellers
Who it's for: students who want a quick, damage-free manicure for a busy school week, someone who travels frequently and doesn't want to carry a lamp and kit, or anyone starting with press-ons who prefers the option that doesn't harm the natural nail while learning.
2. Wafoloze Faded French Press-ons — The Classic for Events
The faded French (pink to white) is one of those looks that never goes out of style. It works for a wedding, a graduation, a formal date, a photoshoot — basically any occasion where you want to look polished without your manicure competing with your outfit. Wafoloze does this classic well: the fade looks natural, the nails have the standard almond shape, and they come ready to glue on.
Here we are in traditional glue-on press-on territory. They come with a small tube of glue included (sometimes — depends on the seller; it's worth confirming before buying an extra just in case). Application takes 10-15 minutes if you've never done it, 5-7 if you have practice. Durability is around 1-2 weeks with good application.
Pros:
- Elegant look ready, without having to learn nail art or buy polishes
- Friendly price (typical $150-300 MXN range) — justified for a specific event
- Durability of 1-2 weeks if you apply them well
- If you care for them when removing, they are reusable at least one more time
Cons:
- Glue application requires more care — and correct removal (soaking, no pulling)
- If you have a cyanoacrylate allergy, rule them out
- The specific fade (pink to white) isn't for all outfits — it's very "bridal"
- Variable stock depending on seller — some don't include glue
Who it's for: students with an upcoming event (wedding, graduation, formal date, photoshoot) who want to look polished without spending $500-800 on a salon service. It also works as a "first traditional set" for those who want to experiment with glue-on press-ons without investing in a premium brand.
Producto recomendado
Uñas Postizas Francesas Con Degradado De Rosa A Blanco (Wafo
Wafoloze
Ver en tienda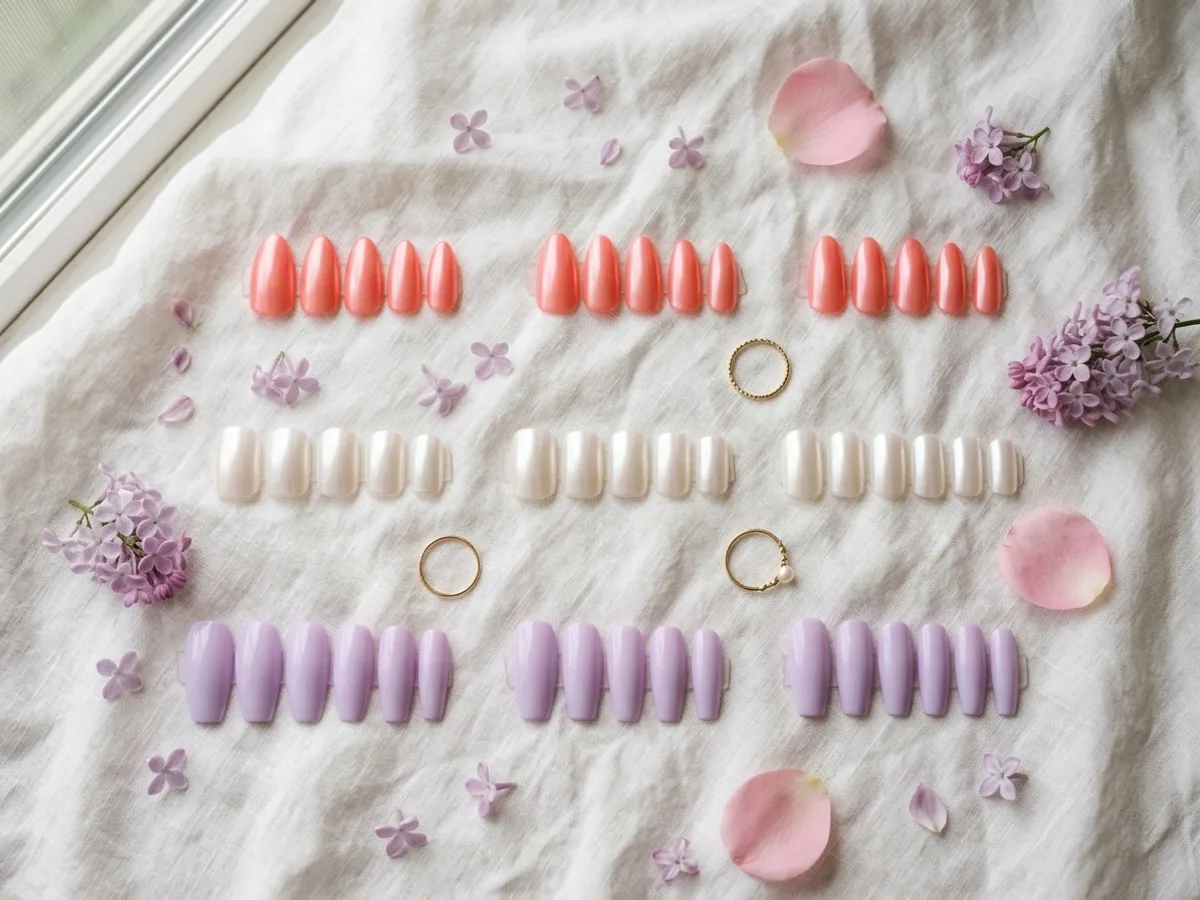
3. OBP 600-piece Soft Gel Tips — For Making Your Own Extensions
Attention: this product is NOT a ready-to-wear press-on, and it's important to state that clearly because the ML listing calls them "artificial nails" which is confusing. OBP soft gel tips are the base on which an extension is built — they adhere to your natural nail with base gel cured under a lamp, and then you apply builder gel, polygel, or acrylic on top to create the final shape. The result is essentially a salon extension made at home, with a real duration of 3-4 weeks (not days).
Why include it in a press-on guide? Because when a student searches for "long artificial nails" on ML, this is one of the products that appears — and it's worth understanding the difference before buying, thinking it's a 5-minute solution.
What comes in the set: 600 pieces in different sizes and shapes (almond, square, stiletto, etc.). 600 pieces is a lot — you're buying the professional format that nail techs use, not a set for a single application. That's why the cost per unit is ridiculously low.
Pros:
- Ridiculously low cost per unit (600 pieces last for months)
- Compatible with builder gel, polygel, and acrylic — flexible depending on technique
- Professional format: the same one nail techs use in salons
- Real salon result — not a temporary patch
Cons:
- Requires UV/LED lamp + base gel + builder gel (or polygel/acrylic) — considerable additional investment if you don't have anything
- Learning curve: the first application feels complicated
- NOT an option if what you want is a 5-minute manicure
Who it's for: two profiles. First, aspiring nail techs (audience C) who are building their professional kit to start charging — the 600 tips are the logical format. Second, students who have already mastered the basics (know how to apply semi-permanent polish, have a lamp, know their base gel) and want to take the step to do their own extensions without spending $400-600 every time they go to the salon. If you don't have a lamp or gel yet, this is NOT your first product — start with a guide to beginner nail kits and come back to this section when you have the foundation.
Tutorial: How to Apply Press-Ons for Maximum Durability
Having the right product is only half the battle. The difference between press-ons that last 2 days and press-ons that last 2 weeks almost always lies in the application: in how you prepare your natural nail, whether you chose the correct size, how much and for how long you press, and — most importantly — how you remove them at the end.
This tutorial applies to Glamnetic (glue-free) and Wafoloze (with glue), with differences marked in step 3. For OBP tips (DIY extensions), the procedure is different and longer — we cover that complete technique in another guide.
Step 1 — Prepare Your Natural Nail
This is the step most people skip and it's the one that impacts durability the most. Without preparation, even premium press-ons lift in 24 hours.
- Buff the surface of each natural nail with a soft buffer (240 grit). You're not filing to shorten — you're removing the natural shine from the nail so the adhesive can grip. Pass the buffer 4-5 times per nail, without pressing hard.
- Push back the cuticles with an orange wood stick. Press-ons should not sit on the cuticle — contact between live skin and adhesive is what causes them to lift fastest.
- Clean each nail with isopropyl alcohol (or non-acetone nail polish remover). This removes natural oils, cream residues, and filing dust. Let dry for 30 seconds.
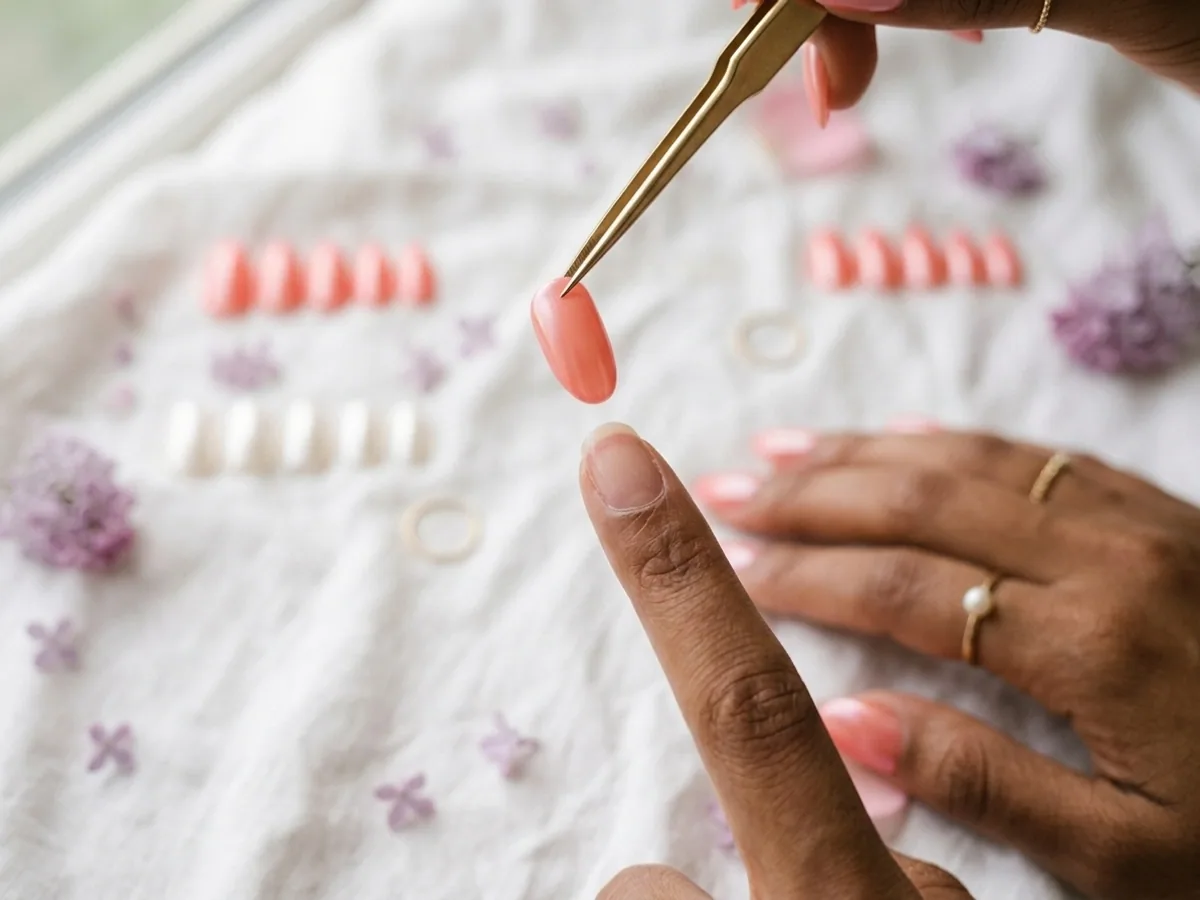
Step 2 — Choose the Correct Size (Try Before Gluing)
Take all the nails out of the set, arrange them in front of you, and try each one without adhesive on its corresponding natural nail. The correct press-on covers the entire surface of the natural nail without overhanging the sides — neither one that presses into the sides, nor one that leaves a visible gap.
If between two sizes, choose the smaller one. A press-on that overhangs the side will lift from the edge in a matter of hours.
Step 3 — Apply (With or Without Glue)
Without glue (Glamnetic): remove the protective film from the back. Place the nail in position on your natural nail, aligned with the cuticle (not on top of it), and press firmly for a full 30 seconds. Not 10 seconds, not 15. Thirty. Use a timer if necessary. Sustained pressure is what activates the cured adhesive.
With glue (Wafoloze and similar): apply a small drop of glue to the center of the press-on's backing (NOT on your natural nail — that makes it unmanageable). Many people put too much glue; a lentil-sized dot is enough. Place the nail on your natural one, align with the cuticle, and press firmly for 10 seconds while the glue cures. Clean any excess that oozes out the sides with an orange wood stick before it dries.
Step 4 — Trim and File to Desired Length
Once glued, nails are always longer than you want to wear them. With a nail clipper for artificial nails (not regular clippers — they cut differently), trim to the desired length. Afterward, file the edges with a fine buffer so they don't snag or catch on clothes or hair. Finish with a swipe of cuticle oil around them — this seals the line between skin and artificial nail, and prevents lifting from the top edge.
Step 5 — How to Remove Them Without Damaging Your Natural Nail
This is the most important part of the entire tutorial. Damage to the natural nail from press-ons almost never comes from applying them — it comes from removing them incorrectly.
- Soak your hands in warm water with mild soap for 15 minutes. Not boiling water. Warm water. The water loosens the adhesive.
- After 15 minutes, gently wiggle the artificial nail from side to side. If it still feels firm, soak for another 5 minutes. Never, ever pull upwards. Pulling tears off layers of keratin from the natural nail and leaves the surface weak and sensitive for weeks.
- Once removed, apply cuticle oil and let the nail breathe for 24 hours before applying another set.
This last step is what determines whether you'll be able to use press-ons regularly or if you'll destroy your natural nails in 3 cycles. Take the 15 minutes.
Quick Comparison
Glamnetic Quick Press Mani
- Glue-free — doesn't damage nails
- Application in ~5 minutes
- Reusable 2-3 times
- Real premium quality
- Higher price than traditional ones
- Less durability (3-7 days)
- Few sellers on ML
Best for quick, damage-free use
Ver precio actualWafoloze Francés Degradado
- Elegant look ready for events
- 1-2 weeks durability with glue
- Friendly price
- Reusable at least once if cared for
- Requires glue and technique
- Needs correct removal (soaking)
- Variable stock among sellers
Best for a wedding, event, or formal date
Ver precio actualTips Soft Gel OBP 600 pz
- Very low cost per unit (600 pieces)
- Professional format
- Real extension result (3-4 weeks)
- Compatible with gel/polygel/acrylic
- NOT ready-to-wear press-ons — require lamp and builder gel
- Real learning curve
- Additional investment if you don't have a lamp
Best for advanced DIY or aspiring nail tech
Ver precio actualCommon Mistakes When Applying Press-Ons
Choosing the wrong size. This is by far the #1 mistake. A press-on that overhangs the sides will lift from the edge in hours; one that is too short leaves the tip of the natural nail visible and looks bad. Always try them on without adhesive before gluing, and if in doubt between two sizes, choose the smaller one.
Applying to an unbuffed nail. The natural nail has a cuticle shine that is basically Teflon for press-on adhesives. Without a gentle buffing of the surface (240 grit buffer, without pressing), the adhesive will lift at the first sign of trouble. Don't skip this step because you think it looks better — without buffing, it lasts one day.
Leaving press-ons on for more than 2 weeks. Even if they look good visually, after 14 days the adhesive starts to give way due to accumulated moisture, and the natural nail underneath doesn't breathe. This is when partial lifting, lifting from the edge, and even small infections due to trapped moisture appear. Change sets or take a 24-48 hour break between applications.
Pulling them off. This destroys the natural nail. It tears off layers of keratin and leaves the surface weak, sensitive, and prone to breaking for weeks. If you urgently need to remove them, increase soaking time to 20-25 minutes in warm soapy water — but never pull.
Improvising with craft glue. If a press-on falls off within 24 hours, it's tempting to grab craft glue and re-glue it. Bad idea. General-purpose glue is not safe for skin/nails, and the chemicals can cause irritation or allergic reaction. Use specific nail glue (any tube of cyanoacrylate nail glue on ML costs less than $50) or a replacement adhesive tab.
When I DON'T Recommend Press-Ons
Although press-ons are incredible for many situations, there are cases where they are simply not the best option — and it's worth being honest before you spend money on a set that won't work for you.
If you have very bitten or very short nails. Press-ons need a minimum natural nail surface (~3-4 mm from the cuticle) to grip. If you bite your nails or keep them trimmed flush with your finger, there simply isn't a base for them to adhere to — they will lift as soon as you wash your hands. In that case, the option is to go directly for a real extension (gel over soft tip or sculpted) which does build structure from the cuticle.
If you work with your hands in water all day. Hair stylists, waitresses, kitchen staff, nurses: you literally spend hours with your hands submerged or wet. The adhesive of any press-on will give way much faster under those conditions. For intensive water use, a salon gel/acrylic service offers more bang for your buck. If you insist on press-ons, add a protective top coat over the adhesive and plan for replacements every 5-7 days.
If you play contact sports or lift weights with a barbell. Repeated pressure and impacts quickly dislodge press-ons — and in contact sports, they can chip and injure you or someone else. For that routine, a short manicure with semi-permanent polish on natural nails is more practical.
If you have a cyanoacrylate allergy. The glue in traditional press-ons (Wafoloze and similar) is cyanoacrylate-based. If you've had reactions to nail glue, false eyelashes, or similar adhesives, don't risk it. The option for you are glue-free formats (Glamnetic) or non-acrylic adhesive tabs.